French At Start
Marshal Ney, excellent, hero, (1D6)+5, (+8 starting on turn 7)
5 x Line/Legere brigades
1 x Lt Cavalry brigade
1 x Dragoon Brigade
1 x Foot Battery
1 x Horse Battery
Army Breakpoint: 3
Reinforcements Turn 7:
4 x Line/Legere brigades
Army Breakpoint: 4
Austrian At Start
General J. Riesch, poor, (1D6)+4
8 x Veteran Line brigades
1 x Cuirassier Brigade
1 x Lt Cavalry Brigade
1 x Foot Battery
Army Breakpoint: 4
Comments on the Order of Battle above:
1. We used a modified momentum system for our Blucher game that I obtained from the Honour Forums Website. The system rates individual historical commanders and, based on the composition of their force and some built-in "friction," gives a variable on how many units that general can possibly activate in a turn. You simply roll a die at the beginning of your move and add the general's "plus" number to get the number of units you can activate for that turn. For example, on turn 1, Marshal Ney rolls a 2, adds the +5, and can therefore activate 7 individual units that turn. Corps & CinC activation's are not used as in regular Blucher. Overall, while this method doesn't have the uncertainty of knowing how much momentum a player has each turn as in the regular Blucher rules, however it is simpler, allows better commanders to consistently activate more units, and works better for a multi-player game.
2. Due to the small number of guns available at this battle, I reduced the effectiveness of artillery for this scenario by halving the number of dice available. So an artillery unit had 6 shots of the following number of dice: 3,2,2,2,1,1.
3. In the actual battle, the Austrians had a few Grenadier battalions mixed in with their line infantry. However the line infantry was, by the time of this battle, in a somewhat demoralized state. Therefore, I opted to not give the Austrians any concentrated grenadier brigades, but raised the morale of the line to regular to take into account the presence of the grenadiers among them. Similarly, the Austrians had a Cuirassier Regiment split-up by squadrons among their infantry, a peculiar early war practice. For this game, the Cuirassiers were assumed to be concentrated into a single brigade.
The Battle:
Napoleon ordered Ney's Corps to cross to the north side of the Danube river to prevent the Austrians in Ulm from escaping French envelopment. The battle begins with the French having repaired the Danube bridge and crossing the river in force, while the Austrian covering force had already fallen back from the river.
The above photo shows the start of the battle...snow covered the battlefield. Ney's corps is crossing the Danube on the right, while Riesch's Austrian corps is deployed on the ridge overlooking the valley between the villages of Ober & Unter Elchingen.
The French crossing the bridge. The infantry are Essex 28mm metal figures. The artillery is Victrix plastic. The troop stands are 60mm wide.
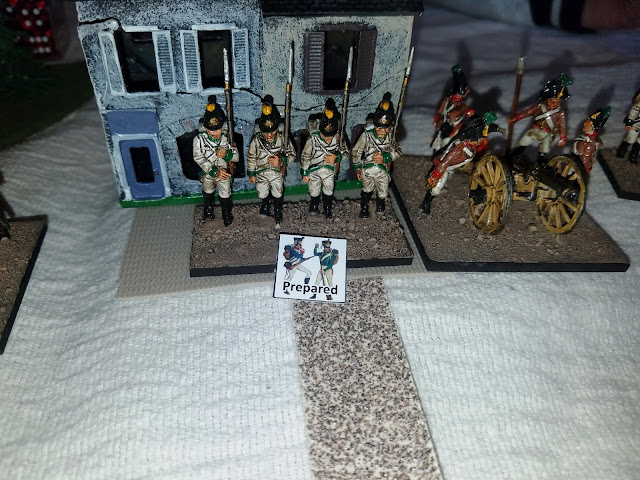
The Austrian infantry occupying Ober-Elchingen, supported by a battery of guns & Hussars to their right. The Austrian infantry is Victrix 28mm plastic, the guns and cavalry are Perry 28mm metal. The buildings are pre-painted from the Miniature Building Authority.
Above, the Austrians have come down from the ridge towards the French in an attempt to keep them bottled up near the bridgehead. Historically, the Austrians stayed on the ridge and allowed the French to deploy opposite the entire ridge.
The French & Austrian artillery has fired, shown by the dice next to them, indicating how many shots they have left.
The Austrian player has activated the infantry in Ober-Elchingen to become a "garrison."
The above photo is several turns later. Malher's Division infantry has arrived and crossed the bridge, reinforcing the French (lover right). The Austrian infantry nearest Ober-Elchingen charged the French, and were generally repulsed. The Austrians in the right of the photo are still pressing the French, who will have to use creative movement to extricate some of their units. Generally, Marshal Ney was able to move most of what he wanted for much of the game.
A few turns later, the photo above shows the French have the upper hand, driving back the Austrians. The final tally was 3 Austrian units broken, 1 retired. No French units were lost or retired. One telling event was after the Austrian had launched another set of charges, the French won most of the melees, then poured volley fire into the Austrians in their next turn.
We may re-fight this scenario again using another set of rules, like HFG, DBN, or DBA-HX, & see how they compare.


No comments:
Post a Comment