Today, Bob & I played a Parthian vs Roman battle, this time using DBA 3.0. We used a modified deployment & terrain placing scheme that Bob came up with, otherwise we used the rules as written.
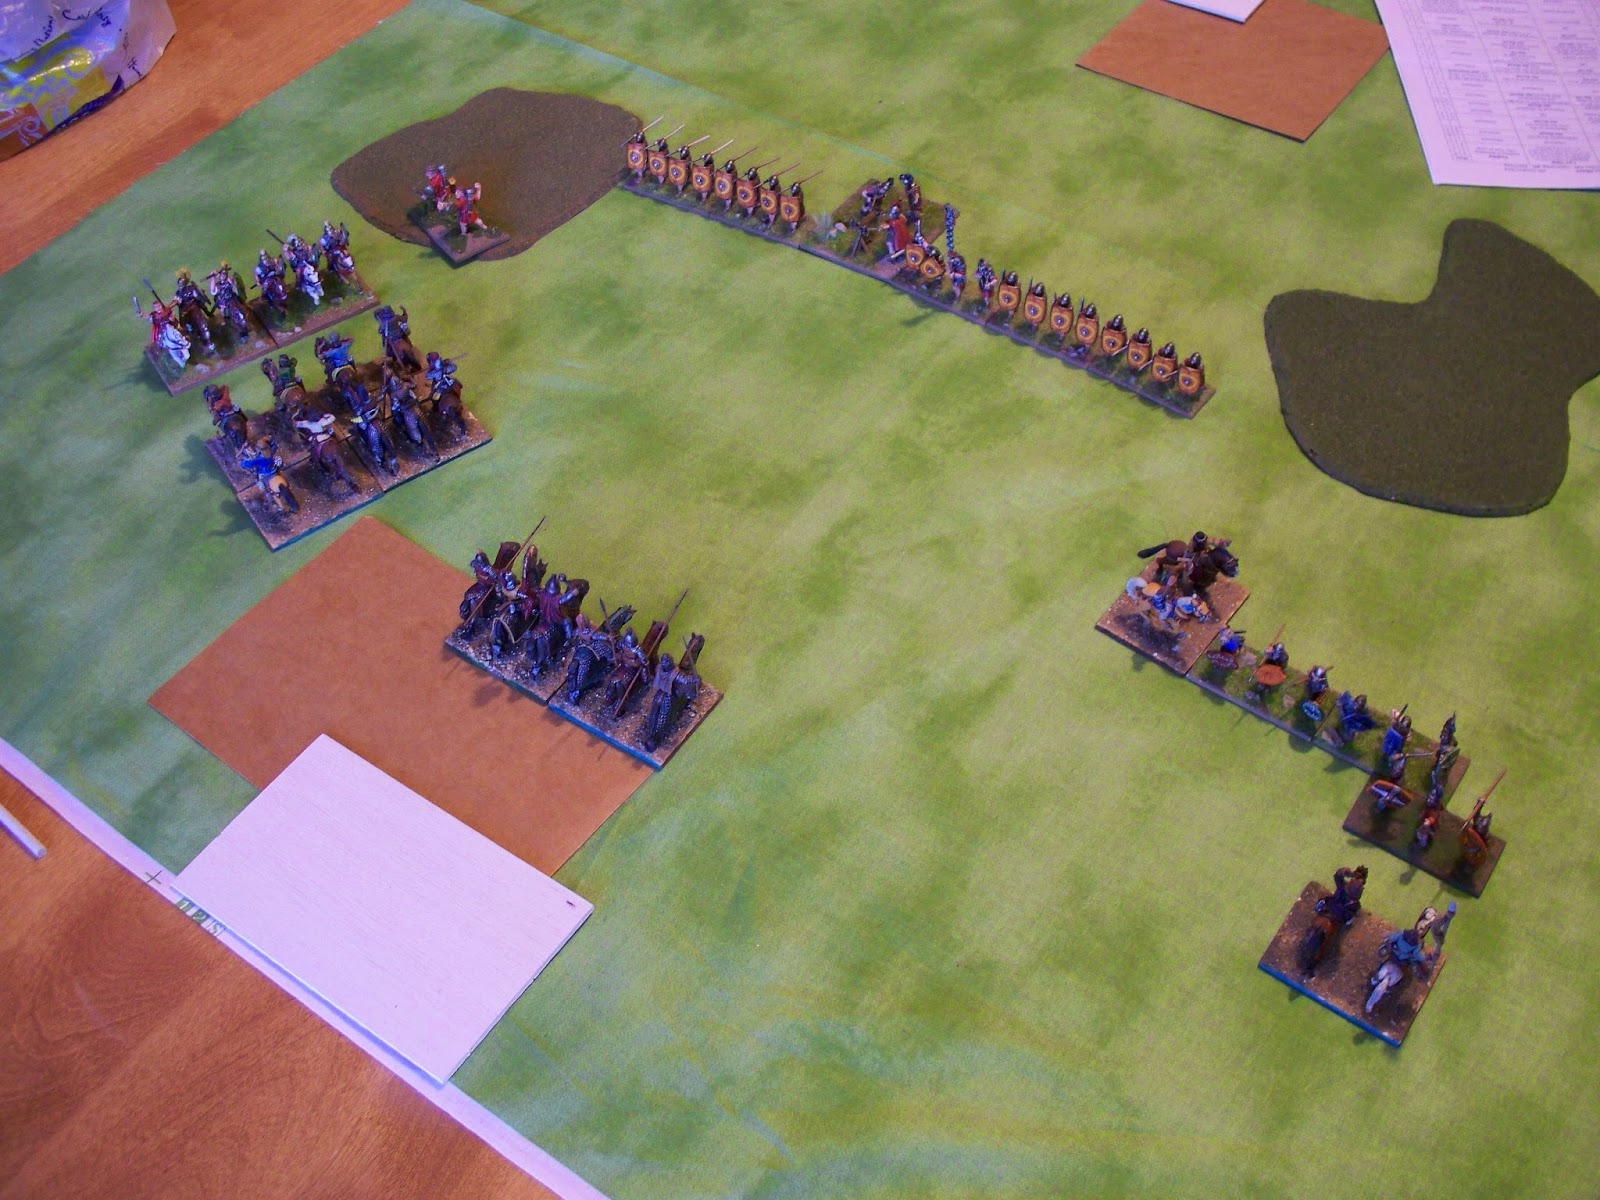
As you can see in the picture above, the terrain was mostly sparse, ploughed fields, a gentle hill, and a bog (dark area). I as the Romans chose a cavaly heavy army (2 x Cv + 2 x LH, 5 x Bd, 1 x 3Ax, 1 x Ps) plus a bolt shooter. Bob as the Parthians chose 3 x 4Kn, 2 x 3Bw, and 7 x LH. The Romans had all their cavalry on their right, the Parthians had their infantry on their right. Note the nifty movement sticks I made for DBA, inspired by Duke Seifried. The terrain cloth was regular material from Hobby Lobby.
Both the Romans and Parthians shifted troops to the Roman left to fight in the ploughed area there. The Parthians moved their cataphracts towards the Roman right, where the Roman cavalry was.
In this photo, you can see that that Parthia attack on the Roman left has failed. One Bow was destroyed, along with 3 Light Horse (one was destroyed by the Roman Bolt shooter on the hill). This broke the Parthians.
This photo shows the start of game 2, I had the Parthians this time & Bob had the Romans. Bob chose 2 more 3Ax instead of LH for his army, the Parthians stayed the same. The terrain was even more open: ploughed fields and brush areas. The Romans moved their cavalry on the right towards the Parthians, and moved their Auxilia on the left, where Parthian archers were out in the open.
This photo shows the aftermath of the infantry battle on the Parthian right; all the Parthia infantry was destroyed by the Roman Auxilia, in spite of Light Horse reinforcements by the Parthians. The Parthians also lost 2 Light Horse units on each flank, which doomed them to defeat again.
Lessons Learned: Parthian infantry is too vulnerable, & should only be used if they can be planted in bad going, where their survival rate is improved. In both games, the infantry made up half of the Parthian losses. In game 1, we had an unusual situation where Light Horse in 2 ranks got a flee result in combat: the front rank Light Horse has to turn 180 according to the rules, then move straight back one tactical move. However, the second rank light horse prevented the fleeing horse from moving or interpenetrating. The result was death to the front rank light horse since it had no where to go. Unless we mis-interpreted the rules, this seems to be the correct result. Also as Parthians, Bob & I failed to really exploit the Parthian movement advantages; we have more to learn on how to use this army.
The Parthian Cataphract commander. Note that these Old Glory Parthians are mounted 3 to a stand instead of 4, as the figures are just too big to fit 4 across per the rules.
The victorious Roman Legions.
Hopefully by our next game, the camps & terrain will looked improved.


No comments:
Post a Comment