For our second game after the Corona Virus lock-down 5 months ago, we decided on a game of DBA 24. DBA 24 is a double sized game of DBA 3.0 with the following modifications:
- Armies are 24 elements each. Double all element counts in the army lists.
- CinC's are per the army list. Each army may also have one subordinate general from any element in the army list except expendables, artillery, horde, Lit, CWg, or CP.
- Command radius is 8 BW within either the CinC or Sub general.
- The CinC gets the +1 combat bonus, the sub general does not.
- The CinC counts as 2 elements lost, the sub general only one.
- Only one pip die is rolled for each army. Note: Players may want to maximize group moves, as you only have 1D6 of pips available.
- The battlefield is 50% larger across, but regular depth dimensions.
- The number of terrain pieces allowed is the same, though players may want to consider using terrain of the largest allowed dimensions if a lot of terrain is desired.
- Victory is when the opponent has lost 8 or more elements instead of 4.
Bob has 2 identical 24 element Early Renaissance armies, which we used for our DBA 24 game. We also used some experimental rules of our own for the early Renaissance period which modify the DBA 3.0 rules as follows:
- Psiloi can shoot in distant combat if they do not move: +2 vs foot, +1 vs mounted.
- LH can shoot if they don't move: +2 vs foot, +3 vs mounted.
- Arquebus shoots as 4Bw.
- 3-4Bd & 4Bw in the front rank of a pike column 2+ ranks deep can fall back to the rear rank of the column in a group move. They, as well as pikes can do this instead of being destroyed by a recoil result due to being in a 3+ element deep column.
- Artillery cannot move once deployed, and shoots every other turn.
The following is an account of our game using all the above mentioned modifications:

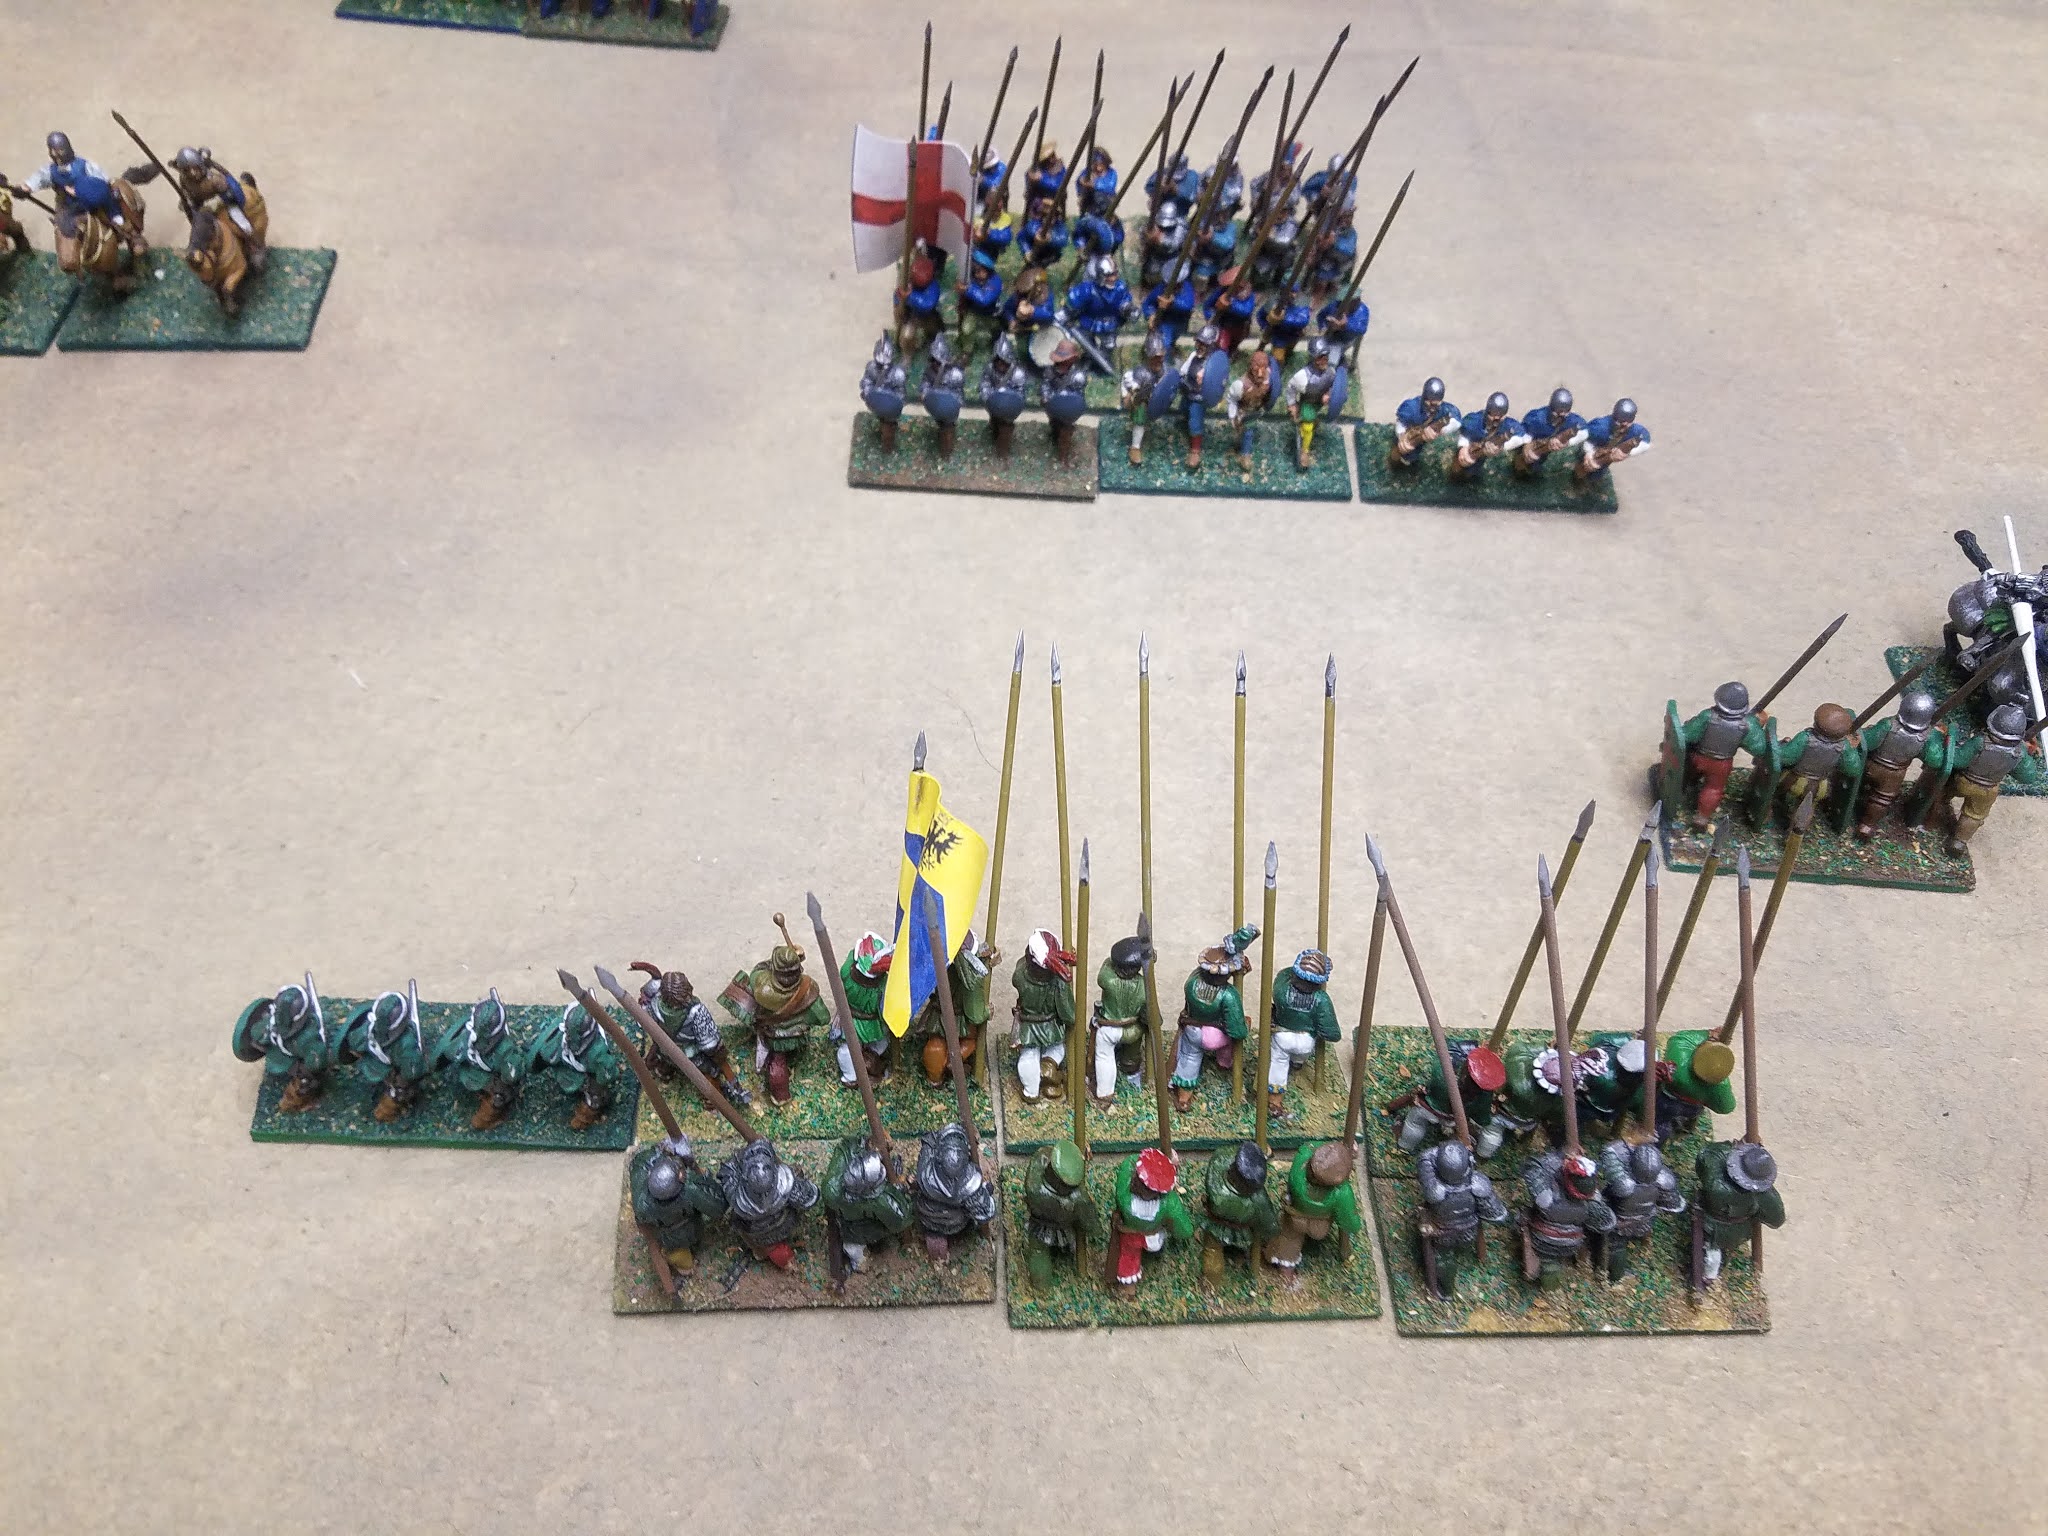
The mythical forces of Ostland (upper left) and Ruritania (lower right) deployed for battle. Both sides have placed their LH & some Ps on the left, while the Kn are on the right of the photo. Ruritania has also supported their Kn with 4Bw (Arquebus) & 4Sp.

The Ostland "Tercio" of 4Pk, 4Bd, & 4Bw.

The Ruritanian Tercio: Pk & Bd

The Ruritanians advance their Ps on their left flank, while attacking enemy Ps up the hill with Kn & Ps on their right flank.


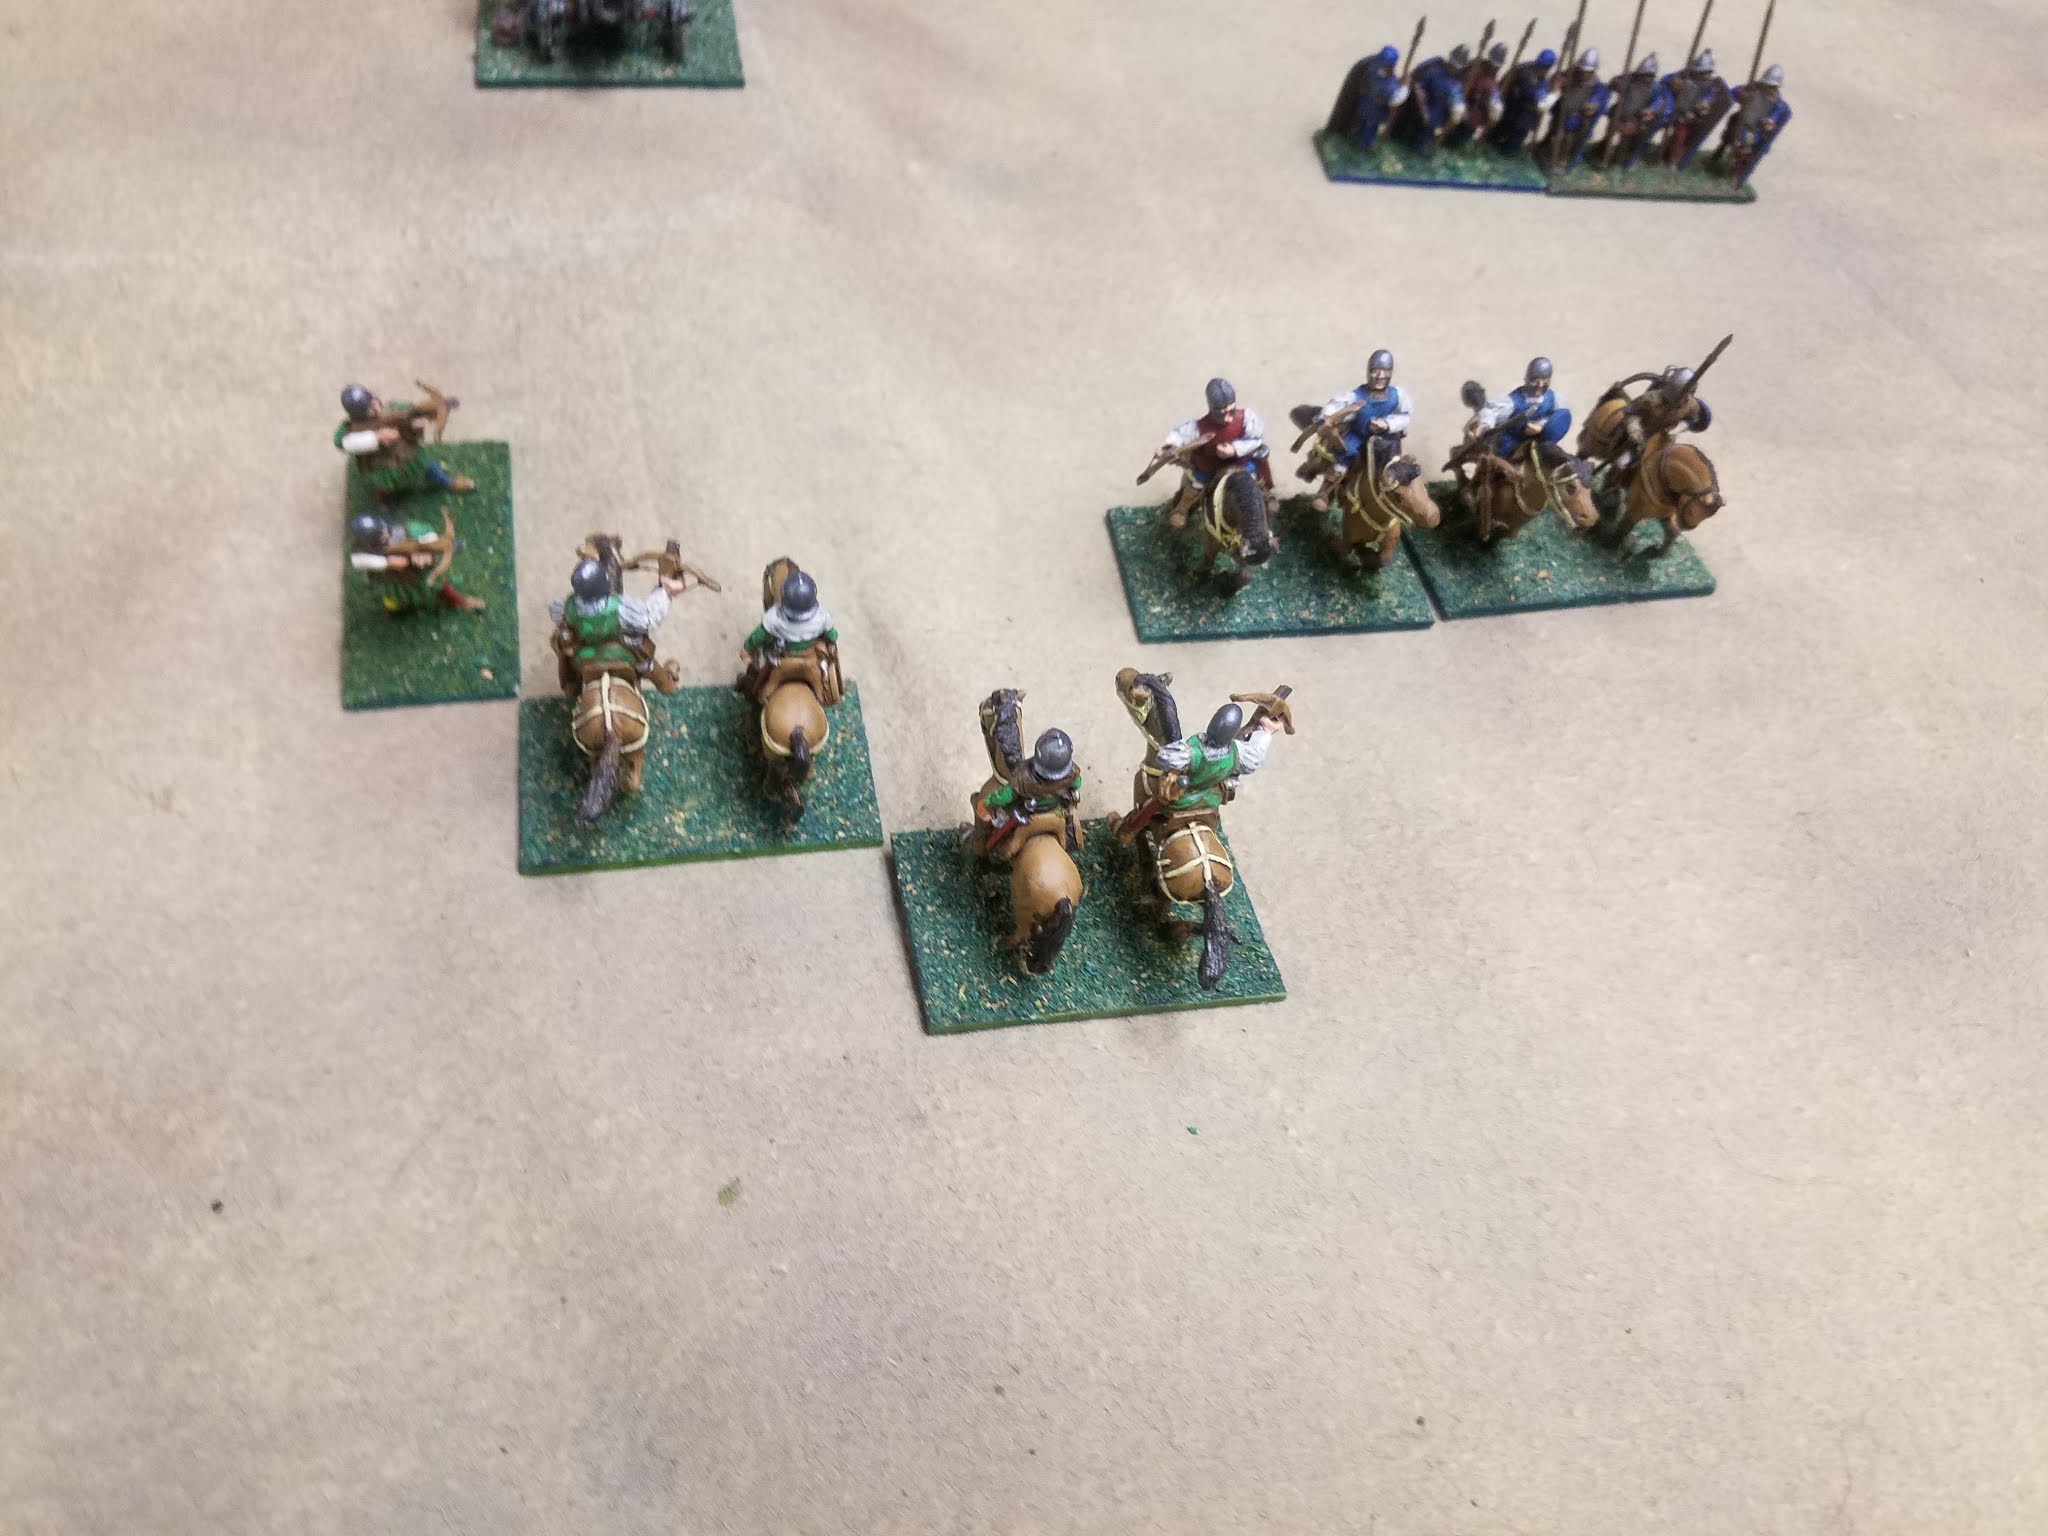
The Ruritanian Kn & Ps on the far right on the hilltop have turned to face the Ostland left flank. The Ostland Gendarmes (Kn) have advanced forward towards their enemy counterparts. 2 of the Ostland Kn have recoiled from distant shooting.

A closer view of the recoiled Gendarmes.

The Ostland Kn recover from recoil and charge forward into the arquebus fire!

Ostland has lost another Ps on their right flank near the artillery. The Ruritanian LH charges the enemy LH with Ps in support. Ostland has lost a LH element. On the Ruritanian right, the Ostland Kn have destroyed a 4Bw, while having one of their Kn recoil again. The Ruritanian Kn from the hilltop are applying pressure on the far right.

A closer view of the far right flank.

On the Ruritanian left, both sides have lost 2 LH due to stationary LH & Ps distant shooting. The Ruritanian artillery has destroyed a Ostland 4Bw that moved towards it from the tercio (not shown). On the right, Ruritania has lost both 4Bw and a 4Sp, while Ostland lost a Kn. The Ruritanian Kn are closing in.
Close-up of the left flank action.

Close-up of the right flank action. The CinC's of both armies are the elements with the large flags.
The tercios close.

On the left, the Ruritanians are down to one LH due to stationary LH crossbow fire. On the right, Ostland has lost another Kn, making 8 elements lost. The opposing tercios end the game almost, but not quite in contact.

Final position on the right.

End of battle positions.
An interesting battle and some interesting results with the modified rules. We enjoyed the DBA 24 concept and plan more games with just the DBA 24 modifications. The single pip die really requires keeping elements in groups together to maximize & economize movement.


