Showing posts with label DBA 24. Show all posts

Tuesday, May 4, 2021

Polish vs Swedes in a DBA 24 Battle


Recently we did another DBA24 game in 28mm, this time a late Renaissance battle between armies we haven't used before, Poles & Swedes, in a Thirty Years War period contest. We came up with some house rules for the game to represent the Renaissance period, including allowing pistol armed cavalry to shoot 1 BW, etc. We borrowed a few of the rules, element types, and combat factors from DBR.

The Polish army deployed near a farm.


The Swedes deployed opposite.


The Swedes lose an element to Polish artillery fire.


The Swedish right (upper right in photo) advances towards the Polish left.  


Another view.


As both armies deploy on the far flank, the Swedish light horse advances on the near flank.


Another view. The Poles defend the garden wall of the farm, with a Polish element recoiling from Swedish shooting.


The far flank forces are fully deployed in line against one another.


The far flank forces fully engaged. The Poles have supporting shot & pikes nearby on the right, and a group of Winged Hussars in reserve.


After a couple turns, the Swedish horse begins to dominate the Poles, turning their left flank and inflicting casualties that have created gaps in the line.


The Poles try to establish a new line of resistance.


Polish casualties, 5 elements destroyed so far.


Outnumbered now on the far flank, the Poles try to defend their extended line.


The Swedes close for the kill.


The Poles lose another Winged Hussar element (which were treated as Knights in our game). The impetuosity (mandatory pursuit) of the Winged Hussars was not helpful in this game.


Another Polish horse element lost. The Poles are now 1 element away from breaking. They manage to kill a Swedish horse element with a flanking shot element supporting the Winged Hussars.


The Poles lose an infantry element in the field to shooting, which brings their losses to 8, and thus the end of the game for a Swedish victory. 


Another view of the end of battle positions.


An exiting game. The battle was decided by the large cavalry engagement on the far flank, which seems appropriate for this period. The Swedish loses were half what the Poles lost.


Wednesday, February 24, 2021

A Debacle for Marius in Numidia

 We had another DBA 3.0 game, this time in 28mm using Old Glory figures and the DBA 24 framework for the game. The setting is a fictional invasion of Numidia on, or after 105BC. The forces are as follows:

Marian Romans (II/49)
Marius (CinC) & Roman Cavalry (Cv) x 4
Spanish Light Horse (LH) x 2
Asiatic Horse Archers (LH) x 4
Thracian Mercenaries (3Ax) x 2
Skirmishers (Ps) x 2
Legionaries (4Bd) x 10

Numidia (II/40)
Jugurtha (CinC) & Numidian Nobles (Cv) x 2
African War Elephants (El) x 2
Numidian Skirmishers (Ps) x 8
Numidian Light Horse (LH) x 10
Roman trained Numidian Imitation Legionaries (Bd) x 2

Both sides chose an element for their sub-general, per the DBA 24 guidelines.

The terrain for the battle was pre-set, and contained most of the wooded area you could ever find in Numidia, as well as difficult hills, all "bad going" according to the DBA rules. The difficult hills were outlined with chalk on the mat.


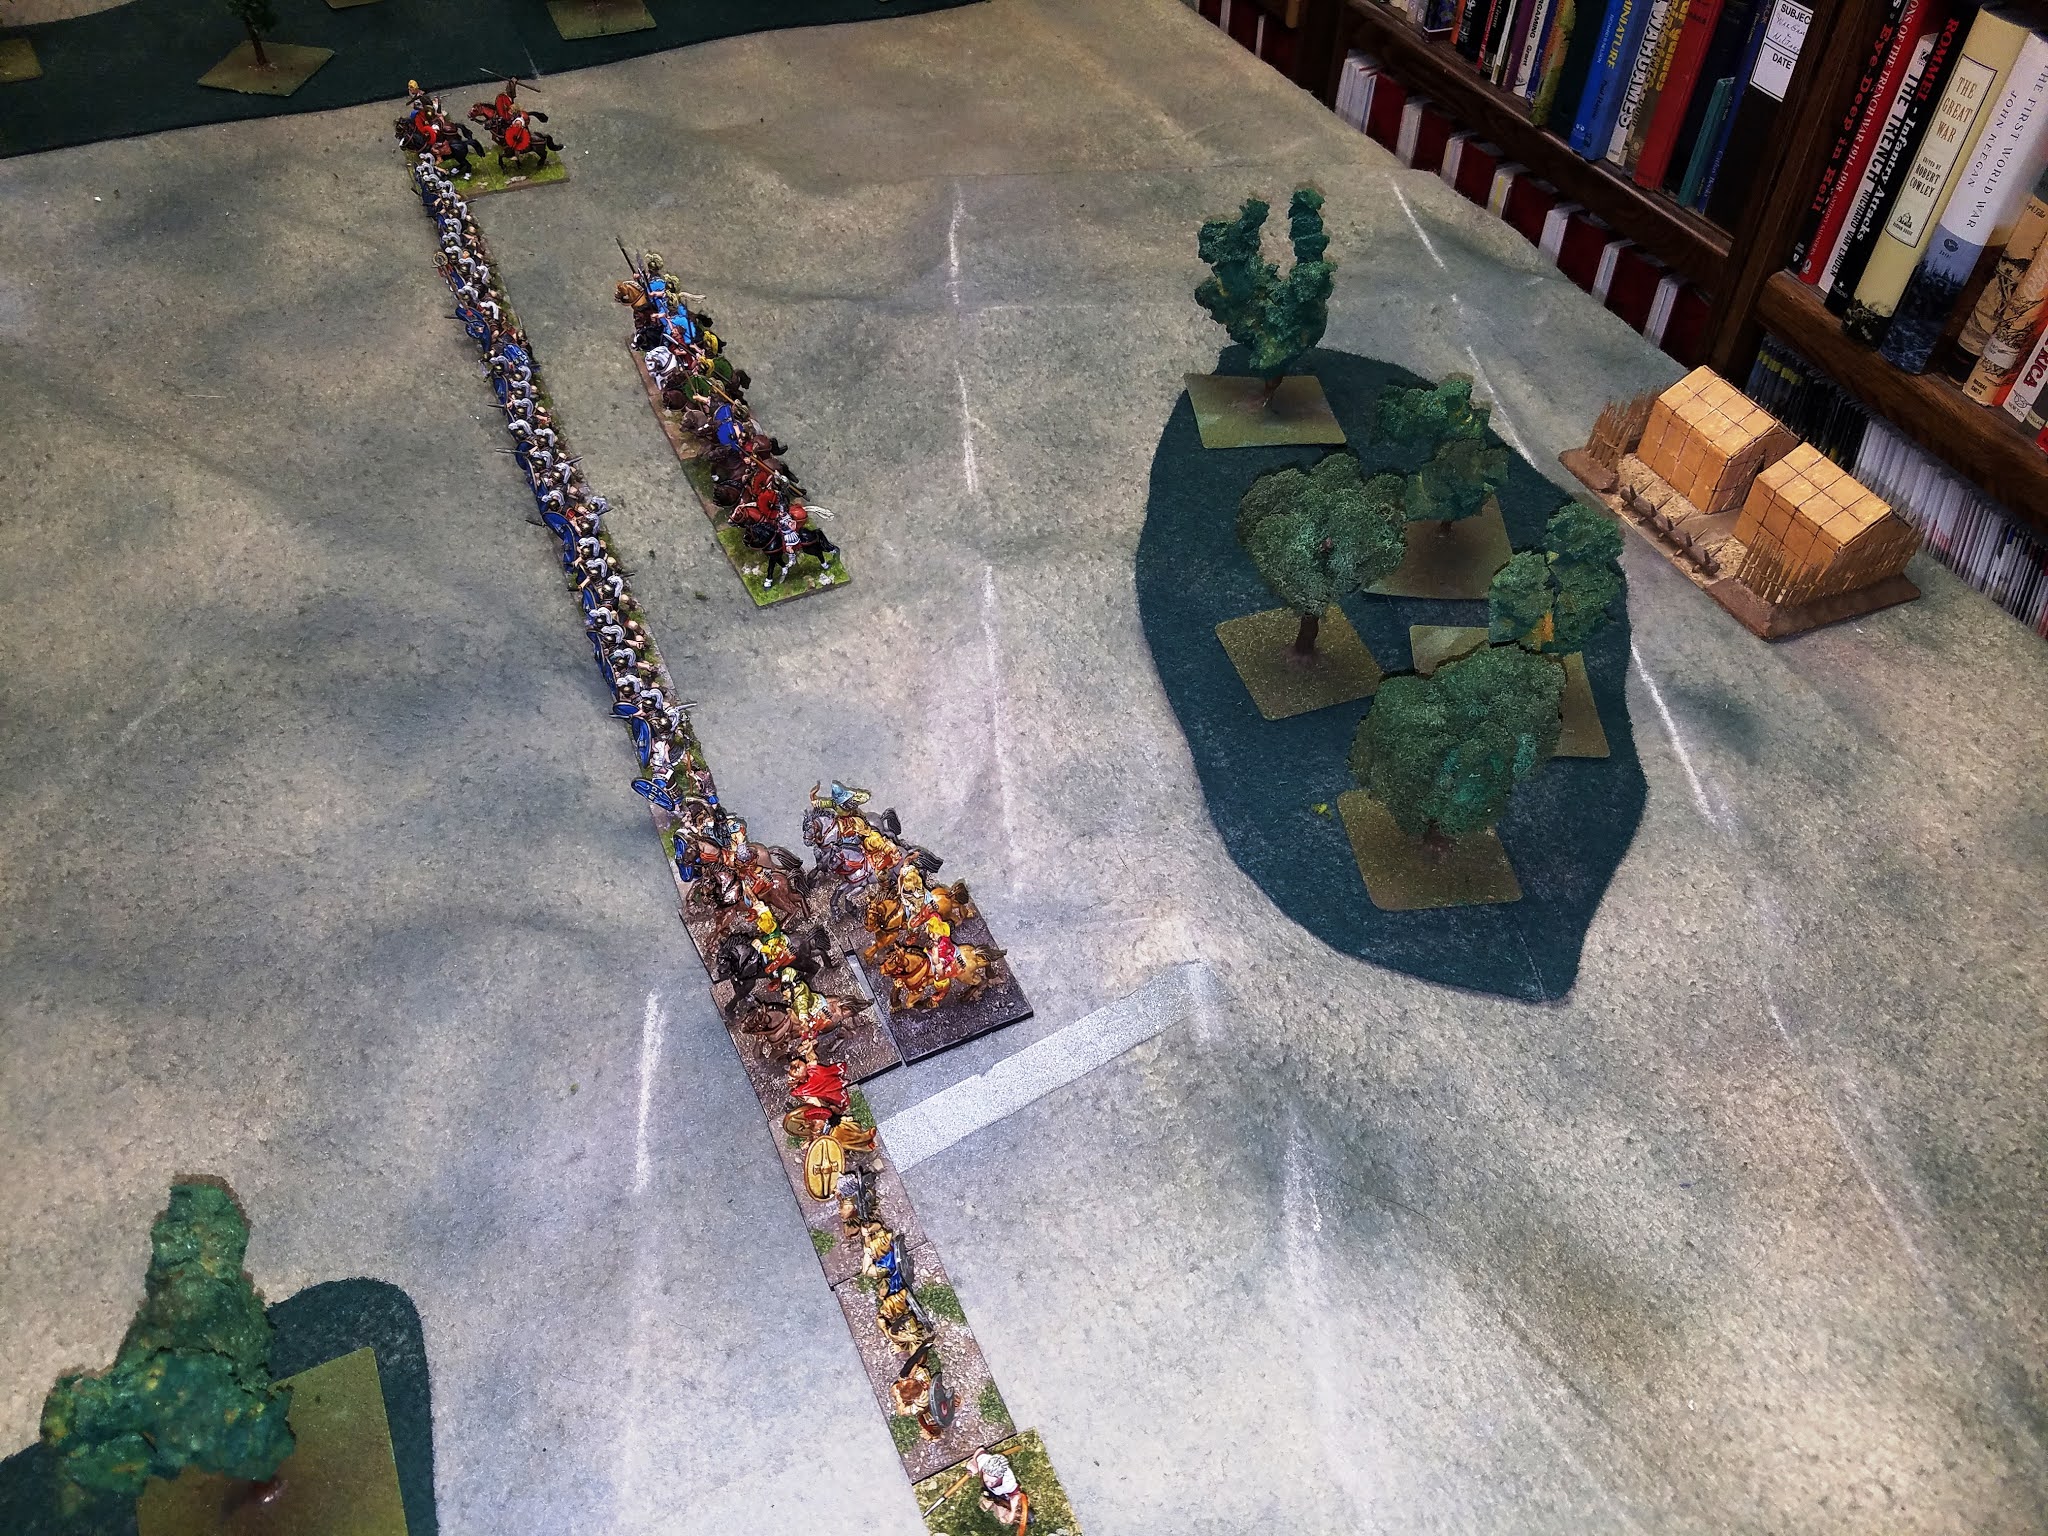
Above shows the deployment. The Numidians (on the left) were the defenders and chose their side and deployed first, the Romans (on the right) deployed second and moved first. The Romans thought they could take the woods to their front on the left with their Thracian auxilia and skirmisher units, supported by the Asiatic Light Horse to their right. However, this proved to be the error that cost the Romans the game, as we shall see. Note that the Asiatic Light Horse was deployed in part on the difficult hill, also an error.


An overhead view of the Roman deployment & camp.


An overhead view of the Numidian deployment. Note some of the Numidian cavalry also deployed on the difficult hill (upper right). This also proved to be an error, but did not cost the Numidians (other than extra pips) during the course of the game.


The above photo shows the Thracians had moved down the difficult hill into the woods, but were counterattacked by the Numidian skirmishers, who made a double or subsequent move into and through the woods on the first bound. Contacting the Roman light troops, the Numidians destroyed the Roman Psiloi unit. Note the Asiatic Light Horse in the background attempting to move away from the difficult hill at 1 BW per turn.


Another view.


The Asiatic Light Horse finally get off the difficult hill. Another Thracian auxilia is destroyed by the Numidian skirmishers near the wood, the the remaining one tries to keep from being outflanked and destroys a Numidian skirmisher. Marius sends a Cavalry unit to support the left, careful to avoid the difficult terrain, which slows movement to 1 BW/turn and gives a -2 penalty in combat.


In the photo above, the Numidians are pressing their attack with their skirmishers in the near woods, also attacking the Asiatic light horse forcing it to turn and face. The Numidians have supported their force in the woods by bringing up 4 elements of Light Horse to face the Asians, along with the war elephant (behind). At the top of the photo, the Numidians are sending a force of 4 skirmishers into the far woods, and their line of cavalry is moving off the difficult hill in the center.


The Numidians continue pressing their attack out of the woods, as the Numidian Light Horse contacts the Asiatic Horse Archers next to the woods. Marius has send 2 Roman Legionary elements to support the Asians and another Roman cavalry element to the left.


At this point, the fight on this flank is consuming most of the pips for both sides each turn as the adversaries try to gain the upper hand over the other. The Romans have now lost the remaining Thracian peltast unit and 2 Asiatic Light Horse units. The Numidians have lost one light horse element, while another has fled (off screen to the left).


The Romans have fed more Legionaries into the center to face the approaching Numidian war elephant with cavalry support. Meanwhile the Numidians are positioning to surround the Asiatic Light Horse near the hill (lower right).


The battle finale: the Romans lose the Light Horse unit near the hill to Numidian skirmishers, and a Legionary element to the war elephant (center). The Roman casualty count is now 8 elements lost, and this ends the game.

The game was exciting and a learning experience, exposing the dangers of bad going to mounted and heavier infantry and it's ability to isolate a section of the battlefield. By advancing into the woods on the left flank, the Roman auxilia and psiloi were effectively isolated and difficult for the Romans to reinforce. A better strategy may have been for them to either deploy and defend on top of the difficult hill, where they would have had the elevation bonus, or kept in the open terrain to negate any advantage the Numidians had in bad going.


Tuesday, February 16, 2021

DBA 24: Macedonia vs Persia

Bob & I played another DBA 24 game, this time with 15mm Essex miniatures and using an Alexandrian Macedonian army (II/12) vs a Later Achaemenid Persian army (II/7), a fictitious battle set around 334BC. The orders of battle are as follows:

Macedonia
Alexander (CinC) & Companions (3Kn) x 2
Light Horse (LH) x 2
Hypaspists (4Ax) x 2
Psiloi (Ps) x 2
Phalangites (4Pk) x 12
Peltasts (4Ax) x 2
Thessalians (3Cv) x 2

Persia
Darius (CinC) in LCh x 1
Persian Horse (3Cv) x 5
Persian Nobles (3Kn) x 2
Persian Light Horse (LH) x 4
Mercenary Hoplites (4Sp) x 8
Persian Archers & Slingers (Ps) x 2
Persian Levy (7Hd) x 2

Both Macedonia & Persia each had one sub-general per the DBA 24 guidelines for command purposes. 

The armies are deployed, Persians on the left, Macedonia on the right. The playing area is 4' x 2.'


The Persian right flank.


The Macedonian right flank.


The Macedonian right flank advances towards the Persians in echelon.


A view from the Macedonian left.


The Macedonian advance continues. The Persian levy moves up to the end of the front line.


Alexander & the Companions are within striking distance of the Persian left flank.


Darius and his Noble bodyguard in reserve.


Alexander breaks through the Persian line, destroying a cavalry unit. The Persians have an opportunity to counterattack, which never came due to lack of pips.


The Persian right flank advancing.


Persian light horse attacking Macedonian peltasts.


Unable to counter due to lack of command points, the Macedonians launch a full assault on the Persian left.


The Macedonian assault on the Persian left is repulsed!


Alexander counters and another Persian cavalry is destroyed.


Meanwhile, the Persians are attempting to envelope the Macedonian left, where Macedonian General Parmenio is with the Thessalian cavalry.


The Macedonian phalangites are advancing towards the center of the Persian Mercenary hoplites.


The situation on the Macedonian left becomes critical as the Persian Skythian cavalry positions itself to flank the Thessalians. A Macedonian light horse unit guarding the flank has been destroyed.


The Persian Greek Mercenary Hoplites don't wait for the Macedonian phalanx to close, and launch an assault of their own.


A lack of command pips and indecisive combat results are preventing Alexander and the Macedonian right from results.


Alexander wheels left away from the Persian levy horde towards the Greek Mercenaries. The phalanx battle is indecisive. Darius and his nobles in reserve are not contributing much to the battle at this point.


The Persian levy is contained (destroying them does not contribute towards the number of destroyed enemy elements needed to win).


A Thessalian cavalry element is destroyed by Persian cavalry and flanking Skythians. Parmenio's element is now alone to defend the left flank. Note: The Persian light horse in the photo are in 2 ranks, as light horse get a bonus of +1 for a supporting rear rank of light horse.


The phalangites are closing with the main line of hoplites. The Hypaspists have lost an element, but are supported by Alexander. Destroyed Persian elements are at the top of the photo.


Destroyed Macedonians.


Parmenio and the remaining Thessalians manage to destroy a Persian cavalry element. They are still in harms way.


Parmenio turns to face the Skythians.


The Persians set-up their attack.


The Hypaspists turning the hoplite flank.


The Greek Peltasts have chased off som of the Persian light horse (above). The Persians are still positioning against Parmenio.


The Phalanx now applying pressure to the Hoplites.


Parmenio finally dies gloriously in battle.


However, more Mercenary Hoplites meet their end. Persian losses have reached 8, ending the battle.


The Persian Horde is still fighting on. Flanking cavalry doesn't help kill horde other than give a -1, since horde do not recoil in normal combat. Final score: Macedonia 8, Persia 5.
 

Assessment:

A hard fought game to the end. Because we only used one pip die for each side, we were forced to often concentrate on one flank at a time due to the lack of pips. Individual elements become expensive to move, while moving in groups is more cost effective.