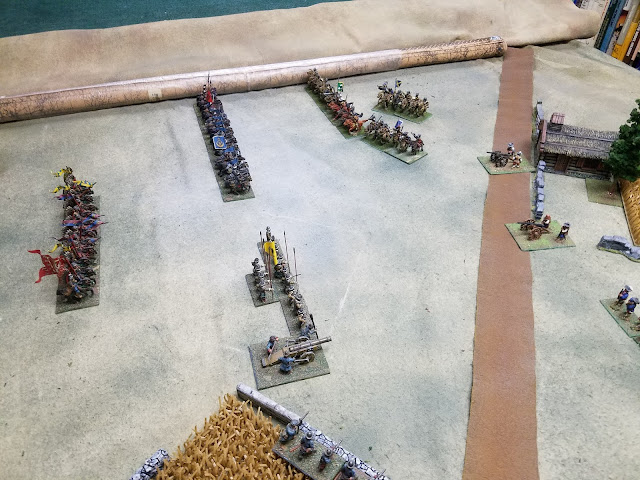
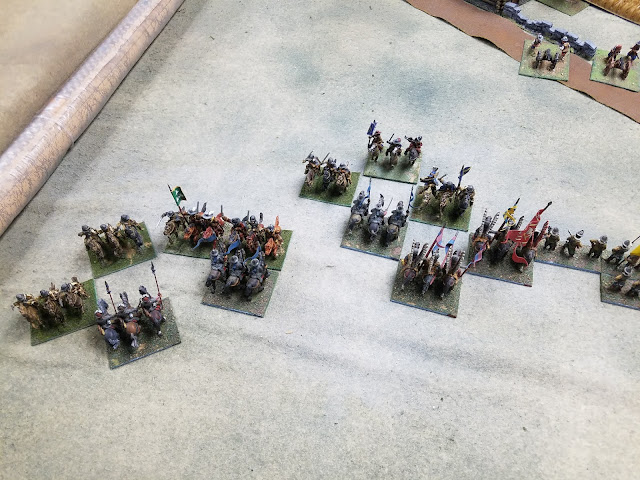
After over a year since our last go with the Blucher rules, we finally tried another game. 4 of us played a modified version of the "Along the Danube" scenario, which is a free download on the Honour website here: link. The scenario was "modified" as some of the terrain was reduced in size due to what we had available. My 28mm figures are on 60mm frontage bases, which is 20% smaller than the 3" frontage bases recommended by the rules. This means we could play the scenario on an area 20% smaller than the 6' x 4' that the scenario called for, which fit on the kitchen table we were playing on.
We used rosters for the game to keep track of elan losses. It seemed to take longer as you have to repeatedly look up your unit's strength during the game for determining how many dice it gets for firing & melee, but eliminated some clutter on the table.
Above, both sides deployed using cards. The cards were homemade. The upside down coffee cup is used for the momentum dice, which the opposing side rolls and keeps track of for the phasing side and keeps the roll concealed.
Both sides have units come into sight and the cards are replaced with miniatures. Infantry Brigades are represented by 2 bases of miniatures that measure 60mm x 30mm. When an infantry unit becomes "prepared" (in square and/or taking advantage of local cover) according to the rules, we simply turn the rear stand around to face the opposite direction to represent a "prepared" infantry unit. Cavalry & artillery brigades are represented by a single stand each.
The French cavalry corps sweeps around the Austrian right, initially using reserve movement, but countered by heavy cavalry from the Austrian Reserve Korps (lower left in above photo).
Overall view of the battlefield.
The French cavalry are forced back on the left.
In the center, the French are moving forward with the intent of getting into shooting range.
A firefight has broken out on the French right flank.
The French cavalry on the left flank has gotten the worst of it so far and fallen back. A firefight is developing on the right of the photo and would prove costly for the French.
Meanwhile, the Austrian left flank has been devastated by shooting.
The French left keeps slowly dwindling down due to losses. The French often found themselves without enough momentum to withdraw or turn individual units around that had retreated from melee, giving the Austrians opportunity to hit them in the flank/rear or destroy them when they were at 1 elan strength.
The Austrian left flank is basically gone and the French infantry are crossing the stream. A French cavalry unit has seized the objective marker between the two small fields.
However, French losses on their left flank & center were catastrophic, as the Austrian center & right hold firm. The battle is won by the Austrians. The small boxes in the upper part of the photo were dice boxes.
We still had a few problems with doing everything correctly with the rules, but it was still an interesting game. Units in Blucher wear down rather than occasional destruction as in other rules. NOTE: The miniatures are based for DBN, HFG, and DBA-HX, as are the movement sticks, etc. They are all perfectly usable for Blucher.
We may try this scenario again using HFG.


