Monday, June 5, 2017

Giant DBA Sabis Redux

I haven't updated this blog in awhile. This past February, we redid our previous Battle of Sabis (or Sambre) using Giant DBA 3.0. Our previous attempt was documented here. The latest battle was a complete success. Some of the changes were:

1. The board was changed and the battle was fought across the narrow side of the board. This put the Gauls closer to the Romans, and also meant the Roman reinforcements would arrive closer to the battlefield.

2. The Roman cavalry and light infantry was divided among it's parent commands instead of being a separate command. It was also given the first move, so it could attempt to escape from the Gallic horde.

3. The Roman reinforcement command arrived by turn 4.


The situation at the start of the battle. The Roman cavalry & lights see the Gauls charging towards them out of the woods.


The Nervi (Gaul) commander and his young trainee surveying the action, mid game.


                                                The view looking towards the opposite flank.


The Roman reinforcements arrive and start to counter the strong Nervi left wing (see top-center).


The Nervi approaching the Roman line.

The lines clash.

The Nervi right never really closed, while the center and left did most of the fighting.

The game ended a Roman victory when the two center Nervi commands broke. We ran this game at 2017 Little Wars in April, with the Nervi getting revenge on the Romans.

Thursday, March 30, 2017

Chalons 451 AD: A BBDBA AAR:

In January, we tried a 28mm Big Battle DBA scenario of Chalons 451 AD. Chalons is a difficult battle to reproduce because of the varying accounts & orders of battle available. For our purposes, we leaned towards Simon MacDowell's account in the Osprey book: "Catalaunian Fields AD 451" as it is based on more recent scholarship. However, we respect those who have differing opinions about the battle.

For our order of battle, we used six 12 element DBA 3.0 armies from the DBA rulebook as modified below:


Patrician Romans (Aetius): List II/82a

Alans (Singiban): List II/58. Note: we replaced Alan 3Kn with Cv to represent their hesitancy at the battle.

Later Visigoths (Theodoric, Thorismund): List II/83a

Huns (Attila): List II/80a

Gepids & Thuringians (Ardaric): List II/71. Note: we replaced 2 x Ps with Thuringian 4Wb, which were present at the battle.

Ostrogoths, Heruls, & Rugians (Widimir): List II/67b. Note: We replaced 4 x Ps with Rugian & Frankish 4Wb, which were present at the battle.

Demoralization:
For our game, the BBDBA demoralization rules were modified as follows: A command that loses 6 elements is demoralized. All surviving elements suffer a permanent -1 to their combat die. Only individual element or "hold" group moves may be made. Elements/groups not assigned pips will rout (flee towards their base table edge). 

Victory Conditions:
The first side to have 2 commands become demoralized and have lost more elements than the enemy has lost the battle. 

Personal Victory Conditions:
To add a little spice to the game, we used personal or player victory conditions (which were adapted from Simon MacDowall's Legio Wargames website ): 

Attila wins if he is still alive, the Huns win, and no more than ¼ actual Huns are casualties.

Adaric wins if he is still alive, the Huns win or draw, and more Huns than Gepids are casualties.

Walamir wins if the Huns win or draw and the Ostrogoths inflict more casualties on their opponents than the Gepids did on theirs.

Aetius wins if he is still alive, the Romans win, and the Visigoths have more casualties than the Romans

Theodoric wins if the Romans win or draw and no more than ¼ of the Visigoths are casualties.

Sangiban wins if he is still alive, the Romans win or draw, and none of his heavy cavalry are casualties.

It is quite possible for more than one player to win. Note that Theodoric, and Walamir do not have to survive to win. In fact, a heroic death could even be considered to contribute to victory. Attila, Aetius, and Adaric, however, have future plans that requires their continued existence and Sangiban was not that heroic.

See photos of our battle below.

Deployment:
Note: Terrain pieces were for aesthetic purposes only, having no effect for movement or combat. Exceptions were the Marne River (top of photo) which was un-crossable, and a large hill (just seen lower right).

The Visigoths:

The Alans:

The Romans:
Note: We used Marian Roman & Gaul cavalry for the Romans, as our Late Roman cavalry is still under construction.

The Ostrogoths:

The Huns:

The Gepids:

The battle opens, the Alans (upper-center) move forwards! (very unhistorical)

The Alans engage the Huns (center) while Roman & Gepid horse engage (lower right).


After drawing the Alans towards them, the Huns begin enveloping them (left-center). The Romans and Gepids have each taken casualties, but the Romans are pressing the Gepids from the position. 


 Third turn, the Alans are getting the worst of the dice and the Huns slowly begin to envelop them (center). Ostrogoths and Visigoths continue to close (below).


The Romans & Gepids have each taken casualties in the fight.

Fourth turn, the Huns are completing the envelopment of the Alans.


Fifth turn, the Gepids have held their ground and blunted the Roman attack. The Alans have been destroyed by the Huns, and the Goth armies have engaged.


Sixth turn, the Gepids press the advantage and begin to mop up the Romans, the Huns send half their troops to assist against each enemy flank army, while the Ostrogoths and Visigoths slug it out.


Final turn, while the Ostrogoth horse struggles, their infantry performs well. The arrival of Huns on the remaining flank armies of the Roman side ensures their ultimate defeat.


The Hun side won the battle. Attila won his personal victory conditions while the rest of the players did not. The game moved smoothly and quickly, we played to a conclusion in slightly under two hours. One item of interest is that the Huns lost no elements at all. I think this will be a good convention game, even for players unfamiliar with DBA.


Friday, January 13, 2017

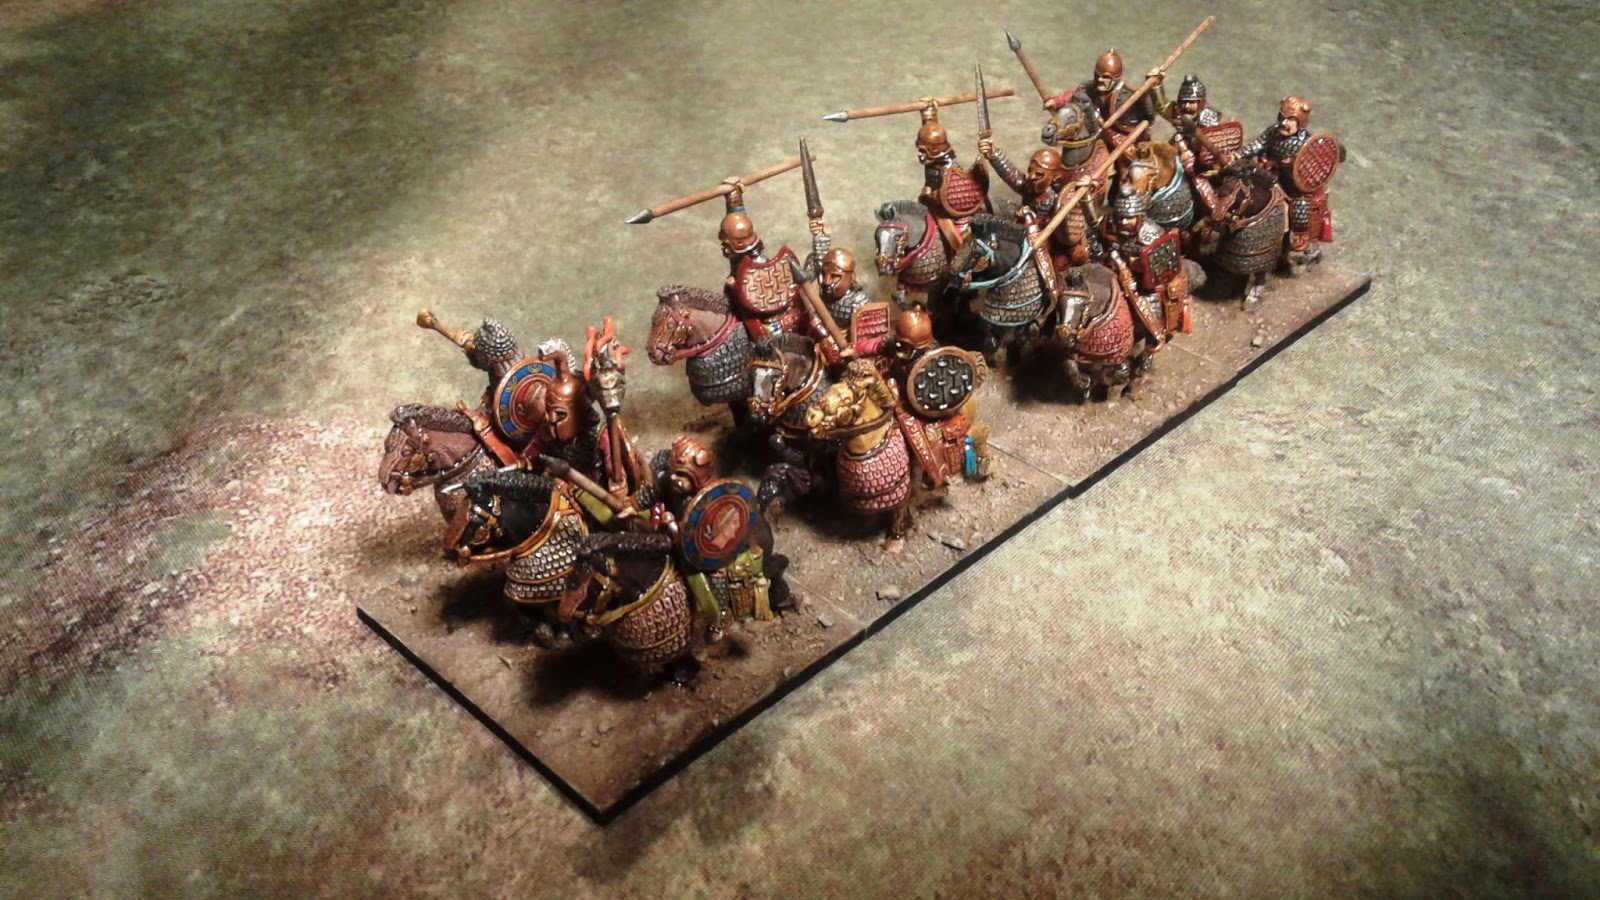
Skythian Noble Bodyguard

Just finished (except for flocking) a group of 28mm Skythian Noble Cavalry from 1st Corps. I am slowly building a Mithradaitic Army for Big Battle DBA. I am using the Skythians as the bodyguard for Mithradaites. I gave the command element Hellenistic shields, to give them a little Pontic flavor.


Tuesday, January 3, 2017

Giant DBA: Issus, an After Action Report

Before Christmas, we were able to schedule and try a Giant DBA scenario, the Battle of Issus. Issus was Alexander's second great victory over the Persians, and over Darius himself. We used my 15mm collection of Essex figures that I painted in early 1990 or so, veterans of many games of WRG 7th, DBM, & Tactica.

For the scenario, we relied on an article and order of battle produced by Jeff Jonas at this link:
http://www.ancientbattles.com/Issus/Issus.htm

While Jonas' Order of Battle is based on Warhammer Ancient Battles, we adapted it for Giant DBA. The Persian army had 66 elements, while the Macedonians had 51. 

Some experimental rules we used to add flavor to the game were:


  • Grading Factors: Some troops were considered Elite, others Mediocre, and some elements could be Fast (adding 1 BW to their movement). Elite troops added +1 to their combat die roll in certain circumstances (when they rolled low, or 1,2, 3), while Mediocre troops subtracted 1 (when they rolled high on a 4,5,6). On reflection after the game, we will make future "plus" or "minus" to the die results more subtle by applying the modifier when an element rolls a tie in distant or close combat - the plus or minus will break the tie one way or the other. Elite troops were: Companions, Prodromoi, Agrianians, Agema Phalangites (2 elements), Hypaspists, and Thessalians. Mediocre troops were Persian Kn, & Greek Allied Hoplites. Fast troops were Companions, Hypaspists, & Persian Kinsmen Cavalry.
  • Hypaspists are a curious troop type. 4Ax just doesn't seem to do them justice. In the old WRG 7th & DBM Army list books, Phil Barker used to allow them the option of being Spears, Auxilia (S), or Pikes. In the game, we allowed them to be spears in good going, and 4Ax in rough/bad going. However, in future games we will allow them to be 4Ax that are Elite, Fast, and allow them side support with each other in good going.
  • Loose Order Fall back: We allowed all Ps or 3/4Ax that suffered a combat outcome of recoil to fall back anywhere from 1/2 BW to 1 BW. This is an optional rule that DBA playtester Joe Collins came up with that I like.
  • Elite Troops Pursuit: We allow Elite troops the option of whether to pursue defeated opponents or not, regardless of whether their element type is one that pursues or not.
  • Command: Alexander rolled all the pip dice and assigned one to each sub general and himself. This represents Alexander's superior leadership ability. However, the Persian commanders separately each rolled their own command die. Also, the Persian commands tended to be larger (15-19 elements), which necessitated keeping elements in groups as much as possible to conserve pips. Break point for each command is 50%. An option is to have commands that reach 33% losses to be "disheartened", suffering -1 in all subsequent combats.


Above, the armies of both sides are deployed for battle. Macedonians are in the foreground.

Darius in his chariot with his Kinsmen Bodyguard Cavalry behind the Mercenary Greek Hoplites. The Persian levy is further back.

The Persian right flank cavalry command of Nabarzanes. We downgraded Persian Kn elements to Mediocre for this game.

Persian Kardakes and Psiloi defending the Panaurus River ford on the Persian left flank. Satrap Rheomithres is attached to the Persian cavalry, upper right.

Persian Psiloi coming down from the hills to harass the Macedonian right flank.

The Macedonian army begins moving forward. In future games, we will position them closer to the Panaurus River.

Nabarzane's Persian Cavalry has crossed the Panaurus on the Persian right (see above left). Alexander & the Companions & Prodromoi are moving towards the ford. The Agrianians are driving back the Persian flanking Psiloi (lower center).

Parmenion's Thessalian cavalry is meeting Nabarzane's Persian Cavalry on the Macedonian left. Persian Kardakes have crossed the river nearby. Alexander had massed the Hypaspists and Agema Phalangites with the Companions near the ford. The Agrianians have destroyed the persian flanking force and are also moving towards the ford (lower right). The Persians are spending pips and bringing up their Levy (Hordes) from the rear.


A close-up of the action between Parmenion and Nabarzane's cavalry.

Alexander, the Agema Phalangites, Hypaspists, Companions & Prodromoi approaching the ford.

Parmenion is not doing well. Coenus' phalangites have veered to the left instead of hitting straight ahead at the Greek Mercenaries. Alexander's assault of the ford has not gone well either, losing 2 Companion elements. Rheomithres' cavalry has crossed the Panaurus and attempting to flank Alexander (lower right).


Death throes of Parmenion, whose command breaks.


Rheomithres' command breaks. Persian Levy approaching the ford to block it. The Hypaspists & Agema are preparing to assault the Kardakes left of the ford.


Unfortunately, we did not finish this battle. However, it was a learning experience and the next game should be improved. We plan to run this as an 8 player convention game. Experience in the game caused a revised OOB, now for 8 players:

Persian Issus OOB:
Nabarzanes: 1 x Sub-General (3Kn(M)), 2 x Satrap Guard (3Kn(M)), 7 x Colonist Cavalry (Cv), 5 x Arachosians (LH). 15 elements.
Thymondes (Greek Polmarch): 1 x Sub-General (Sp), 7 x Mercenary Hoplites (Sp), 3 x Kardaka Hoplites (4Ax), 5 x Kardaka Light Infantry (3Ax). 16 elements.
Darius, Emperor: 1 x General (LCh), 2 x Kinsmen Cavalry (3Kn (M)(F)), 8 x Persian Levy (Hd), 3 x Kardaka Hoplites (4Ax), 5 x Kardaka Light Infantry (3Ax). 19 elements.
Rheomithres: 1 x Sub-General (Cv), 1 x Persian Cavalry (Cv), 2 x Persian Light Horse (LH), 4 x Skirmishers (Ps), 3 x Mardians (Ps), 4 x Greek Peltasts (4Ax), 1 x Takabara (3Ax). 16 elements.
Macedonians Issus OOB:
Parmenion: 1 x Sub-General (Cv(E)), 3 x Thessalians (Cv(E)), 1 x Greek Allied Cavalry (Cv), 3 x Thracian Mercenary & Cretan Archers (Ps), 4 x Phalangites (Pk). 12 elements.

Coenus: 1 x Sub-General (Pk), 9 x Phalangites (Pk), 4 x Greek Allied Hoplites (Sp(M)). 14 elements.

Alexander: 1 x General (3Kn(E)(F)), 3 x Companions (3Kn(E)(F)), 2 x Prodromoi (LH(E)), 3 x Hypaspists (4Ax*,(E)(F)), 2 x Macedonian Archers (Ps), 1 x Greek Peltasts (4Ax), 1 x Mounted Grooms (LH). 13 elements. *Side Support in GG.

Nicanor: 1 x Sub-General (Pk(E)), 1 x Agema Phalangites (Pk(E)), 4 x Agrianians (Ps), 6 x Greek Allied Hoplites (Sp(M)). 12 elements.

Thanks to Bill Hupp, Dave Rutter, Bob Pavlik, Ross Bentley, & Ron Jaffe for assisting with our playtest.


Monday, December 19, 2016

Slowing Down for the Holidays

Things are slowing down hobby wise for the holidays. However, my friend Bob & I were able to squeeze in a couple DBA games recently. Above shows our 15mm clash between Sulla's Marian Romans and Mithridates' Pontic army. Pontus won 2 games to 0.

The 2' x 2' mat we are using is one I received as a complimentary gift for playing in the 2016 Adepticon DBA Tournament. It is made by Gorgon Studios, and is made from material similar to computer mouse pads. It rolls up and has a carrying case. Of course, we could have just used the Christmas table cloth as our mat.