Friday, January 14, 2022

Early Germans vs Huns: Another 100pt ADLG Battle

 Recently, we had another ADLG battle. We enjoy the effects that ADLG allows horse archer types during the game, such as evading and distant shooting. ADLG is also a step-reduction game, where the elements/units are worn-down step by step in combat, whereas in games like DBA, the units are mostly either recoiled back a short distance or destroyed outright.

In our latest game we used the Early Germans (250AD) vs the Huns (374AD), so an out-of-period battle where the armies existed about 124 years apart. We used Huns from a period prior to Attila (who appeared about 433AD). Below is an order of battle for our game. Note that each army below is made up of a single corps or command. The latest version of ADLG now requires 100pt armies to be composed of two commands, so we will adjust our armies for future games:

Huns:

1 x Brilliant CinC (Mundzuk) & Elite Heavy Cavalry, Bow

1 x Heavy Cavalry, Bow 

12 x Horsemen: Light Cavalry, Bow

Total: 14 units

Germans:

1 x Brilliant CinC (Arminius the Younger) & Bodyguard of

 Elite Medium Cavalry

2 x Horsemen: Elite Medium Cavalry

4 x German Tribes: Impetuous Heavy Swordsmen

2 x Veteran Germanic Tribes: Elite Impetuous Heavy Swordsmen

1 x Skirmisher: Light Infantry, Bow

3 x Skirmishers: Light Infantry, Javelins

Total: 13 units

Below is an account of our game.

The Hun army deployed at the crest of a low ridge. The Hun Nobles are in front of the camp, with 2 wings of bow armed horsemen. A small wood is in the lower right of the photo.


  Another view of the Huns.


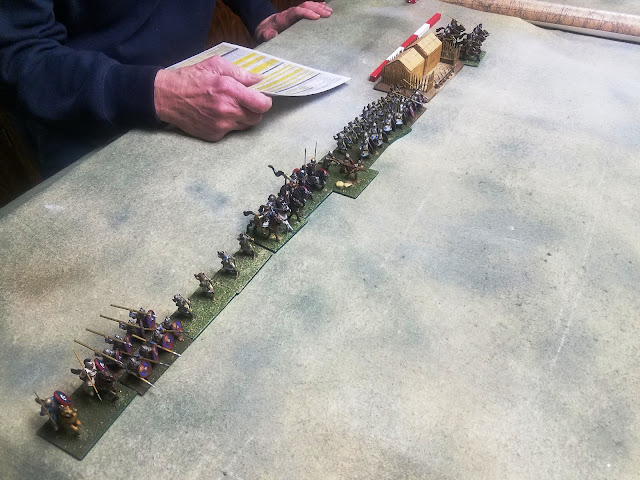
The German army deployed opposite, also on a low ridge (no effect for game purposes).


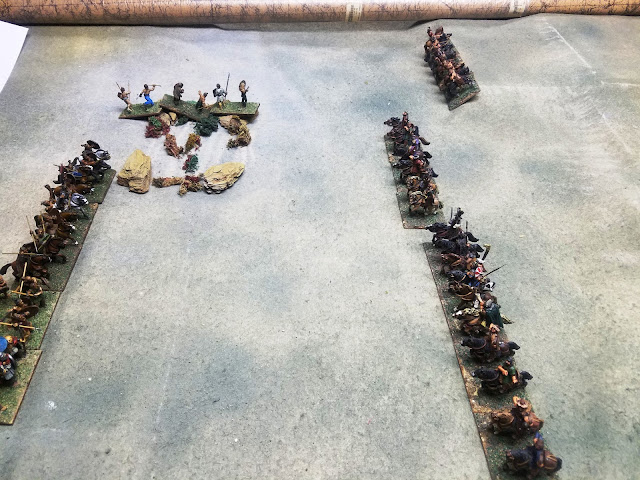
An overview of the battlefield. The Germans (left) have moved their left flank javelin-armed skirmishers towards the field (outlined with rocks), supported by their medium cavalry elite horsemen. The Huns (right) have advanced forward into the valley.
 

Another overview of the battle.
 
 
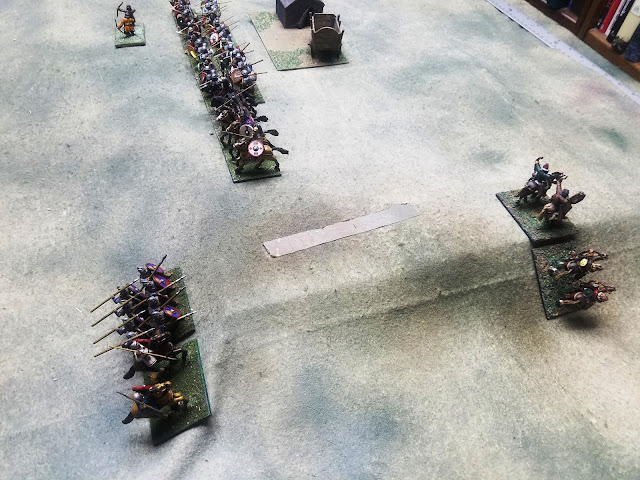
The Huns ride up to close range and shoot into the German tribesmen.


The javelin armed German skirmishers attempted to engage the Huns in the flank, who subsequently evade away.


The Huns about face the next turn and engage the skirmishers with bow fire. The Hun bow fire on the near flank is ineffective.


The Germans try attacking the Huns on the near flank, who evade. 


The Huns have routed a skirmisher in the field in close combat, and scored bow hits on the others.


The Huns close in and rout the rest of the skirmishers in the field.
 
 
The Huns on the far flank reform and begin to work around the German flank. The near flank Huns have turned around and moved back into bow range.


The German line starts to break up. First, the German Elite Horsemen move forward past the field towards the Hun Nobles. Some German tribesmen charge the Huns on the near flank, but the Huns evade.
 
 
Far flank Hun horsemen move towards the flank of veteran (elite) German tribesmen, while the near flank Huns turn around and come into bow fire range of the Germans.


The veteran German tribesmen turn & face the Hun horsemen on the far flank. The German elite horsemen charge the Hun nobles, who evade (upper right).  The German tribes on the near flank are reforming their line as the Hun horsemen approach.


The far flank Huns (upper left) are engaging the veteran German tribesmen with bow fire. The Hun nobles (upper right) have made an about face and move into bow range of the German horsemen, while another group of Hun horsemen is on their flank. A Hun unit on the near flank has routed a German skirmisher unit (not shown). 


Clockwise from upper left: One group of Huns have evaded the German veterans while another moves into bow range, The German horsemen are engaging the Hun nobles but it is going badly as all three German horsemen units have taken 2 hits each from melee and bow fire, and the Huns on the near flank are moving into bow range again and inflicting hits on the German tribesmen.


The last act clockwise from top left: The Huns have reformed to attack the veteran Germans with bow fire, the Hun nobles (upper right) have routed all the German horsemen, and the near flank Huns (below) are firing for effect on the German tribesmen. German casualties have forced army demoralization at this point, including the 4 units in the photo disordered from bow fire.

Another hard fought exciting game (well, exciting for the Huns anyway). Miniatures are 28mm Old Glory figures.


Wednesday, January 5, 2022

Patrician Romans vs Huns: An ADLG Battle

 I haven't posted anything in awhile, though we have been playing a few DBA games here & there. Recently, we took a diversion from our usual DBA encounters and wanted to try something completely different, so we tried a 100 pt game of ADLG (Art De La Guerre) using Patrician Romans vs Attila's Huns. While many of ADLG's game mechanics are similar to DBx series games, ADLG has some unique mechanics of it's own, including step reduction for combat, missle fire by all troop types capable of doing so (not just abstractions as in DBA for Psiloi, Light Horse, etc.), and the ability to evade when charged by the enemy. We also tried using Armati II, but didn't like having to track not only hits, but also fatigue for individual units as well, and the rules system was unlike DBx in many ways. ADLG has more game mechanics that we are used to. We used version 3 of  ADLG, as we hadn't yet obtained a copy of version 4 at the time of our game.

Below is an Order of Battle for our game:

Attila's Huns:

CinC: Ellac, Brilliant General, attached to Nobles.   

1 x Nobles: Heavy Cavalry, Bow

4 x Huns: Light Cavalry, Bow

2 x Subject Heruls: Heavy Cavalry, Impetuous

4 x Subject Goths, Heavy Swordsmen, Impetuous

2 x Skirmishers: Light Infantry, Bow

Total: 13 units, 100 pts

Patrician Romans:   

CinC: Aesop, Brilliant General, attached to Equites

1 x Equites: Heavy Cavalry, Impact

1 x Equites Clibanarii: Cataphract

1 x Equites Illyricani: Light Cavalry, Javelin

2 x Mounted Foederati: Heavy Cavalry, Impetuous

1 x Decadent Legionaries: Heavy Swordsmen

3 x Auxilia Palatina: Medium Swordsmen, Impact, Support

2 x Exulcatores: Light Infantry,Javelin

1 x Heavy Artillery

Total: 12 units, 100 pts

As you can see from above, the 100 pt armies in ADLG are very similar in size to a standard 12 element DBA army.  

An account of our game is below. Note that all infantry units, except for light infantry, are 2 ranks of elements in ADLG.

 
Above, the Romans deployed for battle.
 
 
Above, the Huns deployed for battle. Note that both armies are deployed on a ridge with a valley in between.

 
 The Huns advance: the skirmishers in the center, & the Hun light horse on both flanks, with Herul heavy cavalry supporting the right flank (top of photo). 


The Mounted Foederati charge the Hun light horse, but they evade to the rear. Note the Roman Auxilia Palatina with rear rank of supporting archers to the left next to the camp. 

 
 After some ineffectual shooting, the Hun light horse on the left flank (lower right) evades from the Roman legionaries and Equites Illyricani. In the center, a Hun skirmisher has taken a hit from the Roman heavy artillery. Next turn, a second hit destroyed it.    
 
       
The Hun cavalry on right flank fight the Roman mounted Foederati. The Huns have lost a light cavalry unit.


The Foederati follow up and knock out a Herul Heavy Cavalry unit.


The Hun archery fire on the left continues to be ineffective, and the Roman aggressiveness caused the Huns to evade further.


However, the Hun light horse turns around surprise charges the Roman legionaries and Equites Illyricani, with a Herul heavy cavalry in support, striking the Legionaries in the flank. Both Roman units are destroyed in the ensuing combat.


With 2 mounted units lost on the right flank, the remaining Hun flees (evades) with one Foederati in pursuit, while the other attempts to rally from it's losses.


The Hun light horse evades further behind the exposed Hun camp. A Goth heavy swordsmen unit turns to face the Foederati.


The Huns rush a Herul heavy cavalry unit and a light infantry skirmisher to the rear to support the Hun light cavalry unit.

 
The left flank Huns rush forward & resume harassing the Roman right flank, inflicting a hit on the Roman light infantry.


The Foederati unit halts their pursuit and attempts to get away from the Hun cavalry, but they are blocked by the Goth infantry threat zone. Meanwhile, the other Foederati unit has fully recovered and is moving towards the Hun line.


On the left, Hun bow fire kills a Roman skirmisher unit.


The Foederati heavy cavalry that was trying to escape is destroyed by the Goth infantry.


The second Foederati makes a suicidal charge into the Goth infantry and becomes disordered after the first combat round.


The Foederati is finally destroyed after being flanked by the Heruls. This action finally caused the Romans to break.


Ellac and the rest of the Goth battle line looking on.


The Roman Auxilia Palatina look on in defeat.


The battle was close until the end. Both sides spent their command points on the flanks, with not much action in the center. In ADLG, the quality of a general determines what kind of command points can be generated. After killing one skirmisher unit, the Roman artillery had no other targets for the rest of the game.

Thursday, August 5, 2021

"I Am Spartacus!" - 3rd Servile War DBA 3.0 After Action Report

 My friend Bob & I have a large collection of 28mm figures for the Marian Roman period 105-25 BC. In addition to large Roman forces, we also have several historical opponent armies for the DBA 3.0 rules, including Gauls, Early Germans, Parthians, Spanish, Numidians, & Ancient Britons. We have the figures to do a Spartacus Slave Revolt army (74-70 BC), but just have never gotten round to having them painted. Well, we were able to assemble a Spartacus Slave Revolt army recently when Bob scrounged together a few Gladiator figures, plus some odds & ends Gaul, German, & generic barbarian types that were already painted. Some "flying carpets" or "sabot" bases were made for the 5Horde (5Hd) elements in the army, which each held a psiloi skirmisher stand and a 3 Warband (3Wb) stand, which together made a 5Hd stand. 

The armies for our first battle are as follows:

Roman Army of Crassus:

1 x Roman Cavalry with CinC (Crassus) attached

1 x Roman Cavalry (Cv)

5 x Legionaries (4Bd)

1 x Roman Light Horse (LH)

2 x Greek Mercenaries (4Ax)

1 x Thracian Mercenaries (3Ax)

1 x Skirmishers (Ps)


Slave Revolt Army of Spartacus:

1 x Ex-Slave Cavalry with CinC (Spartacus) attached

3 x Ex-Slaves with miscellaneous armor & weapons (4Bd)

1 x Ex-Gladiators/veterans with miscellaneous armor & weapons (4Bd)

1 x Ex-Slave Gauls fighting in native style (3Wb)

2 x Ex-Slave herdsmen skirmishers (Ps)

4 x various Ex-Slaves, peasants, the oppressed, etc. (5Hd)

For our battle, we used terrain similar to that in the Stanley Kubrick film "Spartacus," mostly clear with two large ridges on opposite sides. 

Above, the Ex-Slave Revolt army is deployed along the top of a long ridge. The crestline is forward outlined in chalk. Books under the game mat made the ridge. The ruins in the background are the Slave camp.


The Roman army of Crassus deployed on the opposite ridge. The Roman camp is in the background.


The Ex-Slave army has moved forward to the edge of the ridge-top. Ex-Slaves with various armor & weapons, classified as "4Blades" or 4Bd are in the foreground.


Ex-Gladiators with various armor & weapons, also classified as 4Bd. Note the sabot base of hordes next to them.


The entire horde infantry group. Being on top of the ridge is a good position for the horde as it gives them a +1 advantage in close combat, plus the horde do not recoil when beaten by ordinary infantry, they just stand and must be destroyed (doubled in combat) to be hurt. 


The armies approach each other.


Another view.


While the Romans were sizing up their opponent, the Ex-Slaves shifted their left flank forward; the Ex-Gladiators & Gauls at the top of the ridge while a force of skirmishing herdsmen moved forward.


Crassus' element shifts to the right to provide better command control for the Roman right flank, ensuring all the elements are within 8 base widths. The Roman skirmishers move forward from the rear.


The herdsmen/skirmishers move forwards towards the Roman light horse on the Roman right flank.


The Romans counter by moving up 2 elements of Greek & Thracian peltasts to support the light horse, under the direct supervision of Crassus, who has moved closer.


Crassus now moves an element of legionaries up to support his right flank.


After Crassus moves to cover the gap between his right and center, the Slaves decide to charge the Roman light horse and peltasts.


A close-up of the action.


The result of the combat is the Romans lose the Greek Mercenaries to the Gauls, while the Roman light horse destroys a herdsmen/skirmisher stand.


The Romans counter attack by turning the flank of the herdsmen while the Thracians held their front. The Legionaries moved into contact with the Gauls while Crassus' cavalry element provides corner support. The Ex-Gladiators look on from the top of the ridge.


Both Ex-Slave army elements are destroyed.


The Ex-Gladiators move next to the horde for support. The Romans organize a pursuit. At this point, the Romans lead the Ex-Slaves 3-1.


A couple turns later, the Ex-Gladiators sense an opportunity & attack the Legionaries.


Crassus senses victory is within his grasp, and the Ex-Gladiators are enveloped.


The Ex-Gladiators are cut down, and the battle is over with a Roman win, 4-1. Crassus raises his gladius in a sign of victory.


Post Mortem: 
The Ex-Slave army initially had the right tactics, deploying on the high ground. The Romans picked the weakest wing to attack (the Ex-Slave left flank) that had 2 skirmisher elements, 1 warband and 1 blade element. The Ex-Slave attack coming off the ridge by their left was probably unwise (though the Romans had shown no sign of attacking yet and someone had to start), and the Romans effectively strengthened their right to deal with it. The Ex-Slaves may have been able to cause the Romans consternation if their right had moved forward to threaten the Roman left, now weakened by Crassus' absence.

The Ex-Slave army may be a bit challenged, as it's troop mix is not the best. Bob & I were thinking it might be fun to have an optional, Hollywood inspired "flaming log" rule to simulate the last battle scene in the movie "Spartacus." Something like allowing all Ex-Slave elements to launch a one-time only "flaming log" distant combat on enemy troops that are both within 1 base width and at a lower elevation, etc., with the Ex-Slaves being allowed to follow-up any Romans recoils with a charge into contact at +1. Maybe next time.