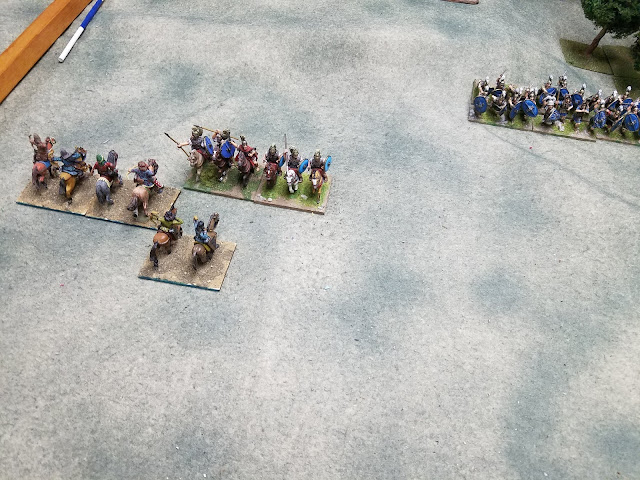
The Romans are deployed. The Roman cavalry is on their right, light horse (LH), fast auxilia, & psiloi on their left.
The Parthians deploy in 3 groups, with cataphracts in the center. Note: we used a less restrictive deployment for both games and the battlefield was deeper than the standard. We also mount 3 cataphract figures instead of 4 to an element, as 4 will not fit in 28mm scale to a 60mm frontage base.
The Parthians advance their right flank LH to counter the Romans near the small woods.
On the left flank, the Parthian advanced to engage the Roman right and apply pressure on both flanks, something not done in the previous game.
There was a lot of maneuvering on the Parthian left, neither side able to get an advantage. The Roman legionaries are massed in the center.
On the Parthian right, 3 elements of LH and 1 of fast bows are facing 2 Roman Asiatic LH, a Thracian fast auxilia, and a psiloi.
An overview of the battle so far. Both flanks are heavily engaged.
The Parthians have lost 2 elements on their right flank, while the left flank is still indecisive.
A Parthian fast bow advances on to assist the left flank.
Both sides have now lost 3 elements each. On the Parthian left, both sides have lost an element as the Parthian fast bow has made it's presence felt. On the Parthian right, both sides have now lost 2 elements each. The battle is set to go either way.
On the Parthian left, the battle is lost as the Romans manage to kill another Parthian LH before they are killed. Final score: 3-4 Roman win.
Neither side were able to bring their center groups into contact. This was probably due to the extra distance between the two armies, with the pips being needed on the flanks once both sides were engaged there. Crassus survived both encounters.


Nice pictures supporting a good narrative Dave. Wonder what would have happened if the Cataphracts had gone in?
ReplyDeleteBoth the cataphracts & blades are +3 against each other in close combat, but the cataphracts quick kill blades.
ReplyDelete